Tuesday, August 10, 2010

Rice Pudding!

For so long I have searched for a Rice Pudding Recipe that I really like. I have tweaked them and tasted them and tried creating them. I have made baked versions and stove top versions. I have finally perfected this recipe to make a fairly quick and easy Rice Pudding that is creamy and delicious and can be varied by adding different spices and ingredients.

This picture is of a plain version with just a sprinkling of cinnamon on top and a dollop of whipped cream. It tastes great warm or chilled. I love the versatility of this basic recipe, so experiment and . . . Enjoy! (I usually double this.)
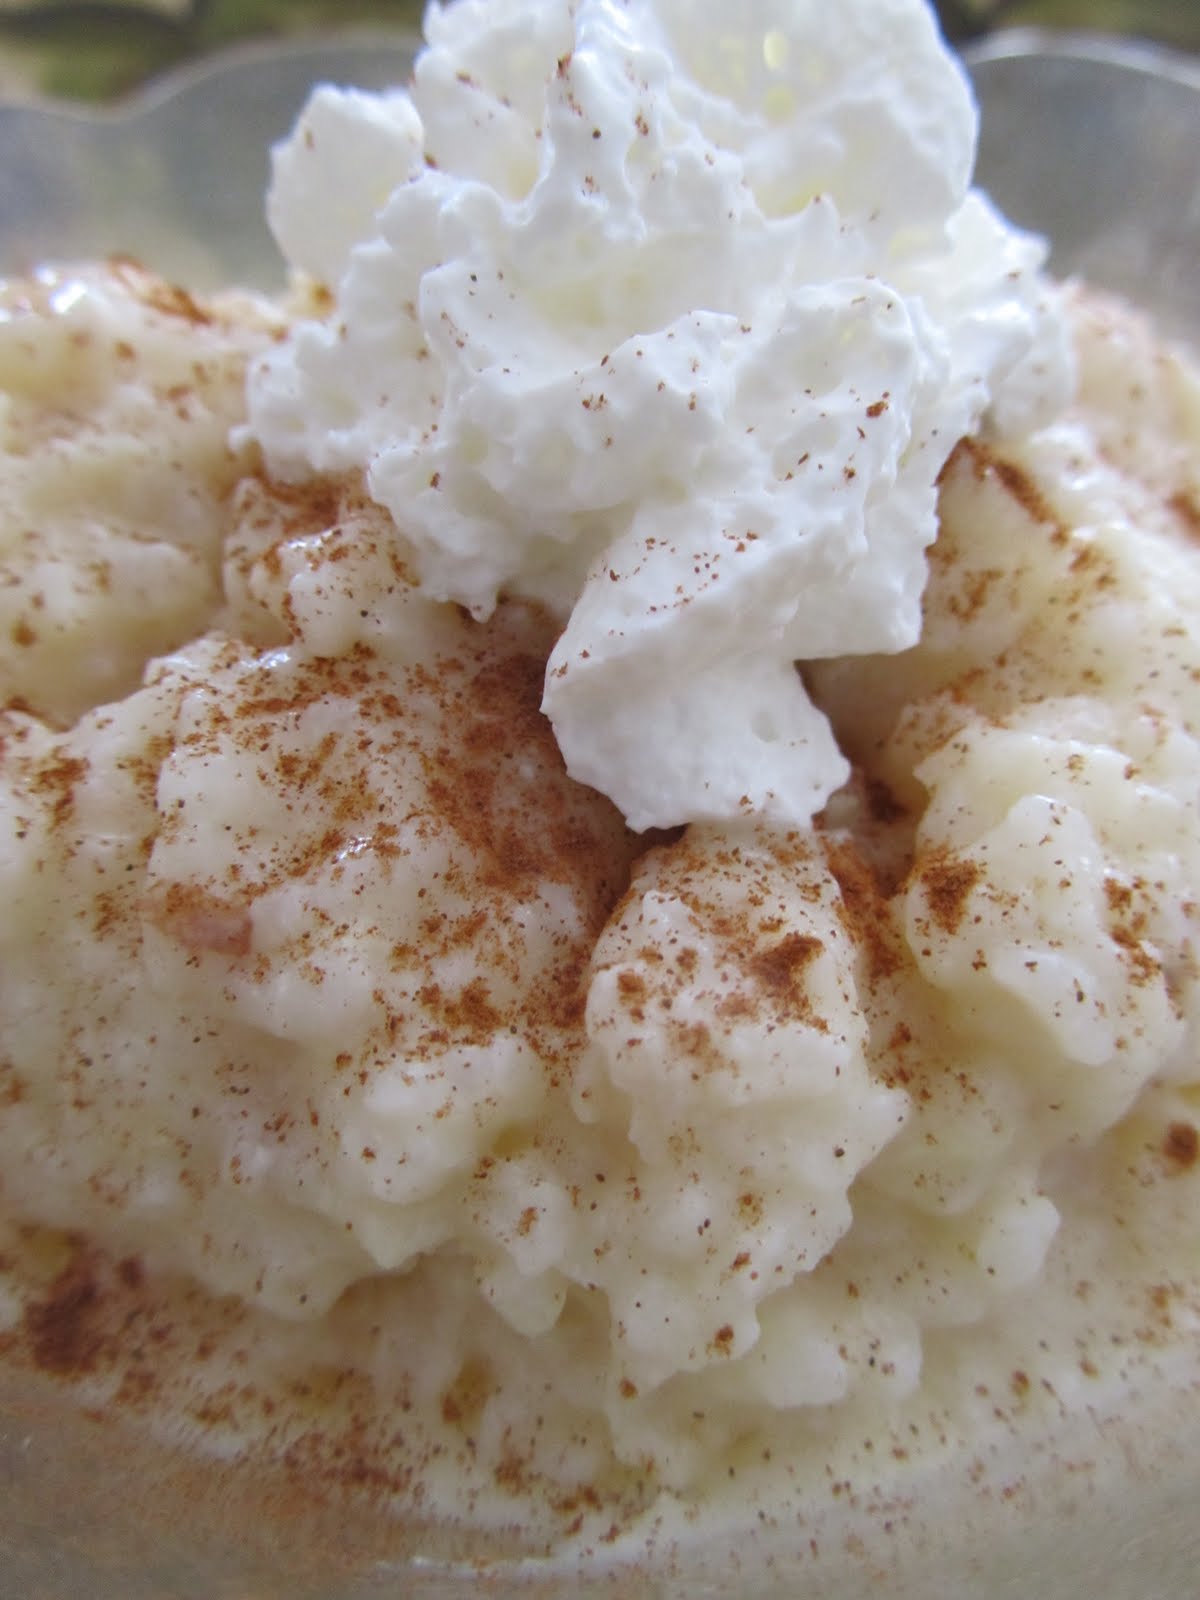
Rice Pudding
1 1/2 C. cooked Rice
1 1/2 C. Milk
1/3 C. Sugar
1/4 t. Salt
1/2 C. Cream/Half and Half/Unsweetened Coconut Milk
1 Egg, beaten
2/3 C. Raisins
1/2 t. Vanilla
1 T. Butter

Optional Ingredients: 1/2 t. Almond Extract, Slivered and Toasted Almonds, Toasted Coconut, 1/2 t. Cinnamon, 1/4 t. Nutmeg

Combine Rice, Milk, Sugar, Salt, and Cream (or other milk product) in a saucepan, cooking over medium heat about 20 minutes. Stir occasionally, so as not to scorch the bottom. Cook until mixture becomes thicker and creamy. (This may take a little longer if using low-fat milk and fat-free half and half.)

While whisking the Egg in a separate dish, quickly whisk in a couple tablespoons of the warm rice mixture to heat up the egg. (Otherwise you may get scrambled eggs :)!) Then quickly stir the egg into the pot of Rice Pudding, combining well. At this point you can add Raisins, if desired. Cook for 2-5 minutes more, stirring constantly, until thick and creamy.

Remove from heat and add Butter and Vanilla. Stir well and serve warm or chilled. Pudding will thicken as it is chilled.

Serves 4 small or 2 large bowls.

Note: Add Almond Extract when adding Vanilla and sprinkle each serving with a few toasted, slivered Almonds. Unsweetened Coconut Milk can be used instead of cream and then topped with toasted Coconut (also stir in 1/2 C. drained, crushed pineapple for an island flavor). For a holiday flavor, add the Cinnamon and Nutmeg when stirring in the Butter and Vanilla.

Tuesday, July 27, 2010

Black Bean and Corn Salsa

Tasty Tuesday


Today is the most delicious "Black Bean and Corn Salsa".

Perfect for using garden produce and herbs. It is light and fresh. Some people call it "Cowboy Caviar", but this version needs a more descriptive name. It makes you want to just eat it by the spoonful. I was leary at first . . . but I'm a believer!
Black Bean and Corn Salsa
*This is delicious as Salsa with chips or topped on a salad or grilled chicken breast. Can be made with fat-free dressing for a very healthy snack/lunch! A meal in itself!

1 can Whole Corn, drained

1 can Black Beans, rinsed and drained

5 Roma Tomatoes, seeded and diced small

1 bunch Green Onions, chopped, using about 3/4 ths up the green part

1 bunch Cilantro, chopped small

1 8-oz. bottle Zesty Italian Salad dressing, regular, light, or fat-free

1 fresh Lime, juiced

1-2 Avocados, chopped into small 1/4" pieces, optional

Combine Corn, Beans, Tomatoes, Onions, and Cilantro.

Add Dressing and Lime Juice. Toss together.

Just before serving, stir in Avocado. The Avocado really adds a lot to this. Try to serve within a couple hours of making it. Drain a little if too much liquid collects in the bottom of the bowl or with any leftovers the next day. You most like won't have leftovers!!

Tuesday, July 20, 2010

Tasty Tuesday!!
*This is a great recipe to let rise on a Sunday while at church. I usually double it.

Homemade Butter Rolls

1 C. Warm Water 3 beaten Eggs

1 T. Yeast 3/4 t. Salt

1/2+ C. Sugar 4 C. Flour

1/2 C. Butter, melted

Mix Yeast and Warm Water together in a large mixer. Let stand for 5 minutes to activate.

Add Butter, Sugar (I add about 2 T. extra), and Salt to beaten Eggs and mix well. Pour into yeast mixture and add Flour. Mix well. You may need to add a little bit more flour. Add it until the mixture pulls away from the sides of the bowl while on the "knead" cycle. Don't add too much or it will make a tough dough. Knead according to your mixer's instructions. (You can hand knead until smooth and elasticy, but works best in a Kitchenaid/Bosch type mixer.

Let rise 3-4 hours. Knead by hand gently, but briefly. Make into desired rolls: crescent, cinnamon, Parker House, etc. The ones in the photo were made by dividing dough in half, rolling each half into a narrow rectangle, brush with softened butter, and then using a pizza cutter, cut into alternate triangles. Roll up.

Let rise another hour or so for the larger, fluffy rolls, or bake immediately.

Bake at 375 degress until browned, about 15 minutes. The outside will need to get a little brown to ensure that the inside isn't doughy.

About 20 rolls depending on the size you make.

Saturday, July 10, 2010

American Fork Canyon, Utah

This is how we spent a couple of days over 4th of July week-end. Truly one of the most beautiful canyons. This is Tibble Fork Resevoir:


Caity getting ready to take Candace on the beginning of our 6 hour ride! (You can tell she's thrilled!)

Picnicing (and texting) near a stream in a clearing we found. No one else on earth.


This river ran through right where we parked. Mike decided to cool off and clean up just a little after all day in the heat and dust! It was a perfect day . . . and even Caity enjoyed it.


Tuesday, July 6, 2010

Tasty Tuesday Recipe: Nectarine Strawberry Jam!

This is one of everyone's favorite jams that I make. So much "brighter" and fresher tasting than peach. It came about accidently when I had some really ripe nectarines that needed to be used, but not quite enough . . . so I added strawberries to make up the difference. The family fights over it and everyone is sad when we run out of this flavor! This combination will be one of the best jams you've ever made!


Nectarine Strawberry Jam
2 cups peeled, mashed Nectarines
1 cup mashed Strawberries
1 T. Lemon Juice
4 cups Sugar
1 box Pectin

Follow directions on the pectin box for freezer jam. If you happen to buy one that needs Karo Syrup, add it. I prefer pectins where you don't need it. I also pulse my jams in a blender or food processor (even though instructions say not to) and the result is beautiful. I don't obliterate the fruit, but just give it a few pulses.

Next week's recipe: The homemade yeast rolls you see pictured with the jam!


Tuesday, June 29, 2010

TASTY TUESDAY!!


Every Tuesday I will try to bring you a new recipe that I have tried or developed and feel is worthy to pass along. Today's recipe is Caramel Pecan Brownies. And let me tell you, they were a hit. So if you ever want something a step above the average brownie, as in decadent and delicious. This is it!
Caramel Pecan Brownies
14-oz. bag of Caramels
12-oz. can of Evaporated Milk, divided
3/4 C. Butter, melted
1 German Chocolate Cake Mix
1/3 C. chopped Pecans
1 1/2 C. Chocolate Chips (semi-sweet, or if desired, milk chocolate)
Peel all of the Caramels and place in a micro-wave safe bowl with 1/2 cup of the Evaporated Milk. Heat for 1 minute, stir. Continue heating and stirring at 30 second intervals until all of the caramels are melted.
Preheat oven to 350. Grease a 13x9" pan.
In a large bowl, mix together the German Chocolate Cake Mix, 1/3 cup Evaporated Milk, melted Butter, and chopped Pecans. Spread half of the batter into your baking pan. This will form a thin layer. Place other half of the batter in the fridge while it is baking.
Bake for 8 minutes.
Remove pan from oven and sprinkle with Chocolate Chips. Drizzle Caramel mixture over all evenly. Using small spoonfuls, dab remaining batter all over the caramel top, trying to cover evenly. It can help to make small balls of batter that you smash flat and set around the top.
Bake for 20 minutes more. Let cool completely. Now that is the hard part. But these really are best when cooled. You can put them in the refrigerator to help cooling. OR for a restaurant quality dessert . . . serve warm with a large scoop of vanilla ice cream on top and caramel sauce drizzled over the ice cream. Sprinkle with chopped pecans. Divine!


Thursday, November 5, 2009

Food Photography

I have been busily working on my cookbook that I will be publishing down the road. And as I have made different dishes, I have been taking photos. Here is my Pumpkin Cake:


Amazing tasting cake--not great photos. Dark. Nothing special. Never said I was a photographer. Cook--yes I am, Designer--yes that too, Photographer--not so much. But my neighbor, Jen, has been photographing some of the finished recipes to provide photos for the book. She IS a photographer--and her pictures of MY food have been beautiful!! She has wanted to try some "stock" photography and is starting with my food. She also does beautiful portrait work! So click on her name and take a look at the BIG difference in our Pumpkin Cake Pictures! :) Also my recipe for the cake can be found on her site. Truly delicious and perfect for fall! On a sad note: not calorie free!